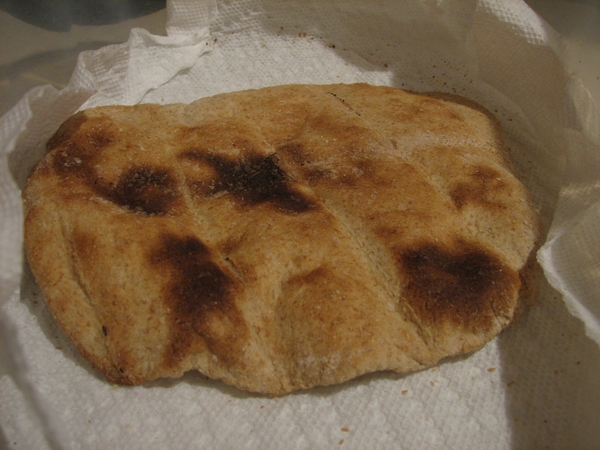
Pita Goodness
#173: Pita Goodness. Wish I would have remembered to take a picture with them stuffed with fillings, but I was too hungry to think about pictures. Here is the last lonely pita left in after our family demolished the rest of them.

These were really fun to make and will most certainly be repeated often. (would have been fast without my helper, but then, that was part of the point of making them) The mistake I made was not putting enough flour in between the bread when I stacked it up to rise, so I ended up having to remake most of the rounds and they still turned out great. I made 8 pitas from this recipe so that they would be big enough to actually get a decent amount of veggies into the pocket.
The link to the recipe at recipezaar
Healthy Whole Wheat Pita Bread (No Oil or Sugar)
55 min | 20 min prep
10 pitas
4 cups whole wheat flour (or 2 cups whole wheat flour and 2 cups all-purpose flour)
1 tablespoon dry yeast
1 1/4 cups warm water (120-130F degrees)
1/2 teaspoon salt (optional)
-Preheat oven to 500°F.
-Sift together 2 cups of flour and the yeast.
-Add water and salt and mix well.
-Gradually add in the remaining flour just until the dough begins to clean the sides of the bowl. Once this happens, stop adding flour (so, you might not use all the flour the recipe calls for.).
-Knead the dough for about 4 or 5 minutes, or until dough is smooth and elastic. (While you’re kneading, you can get creative and add in some herbs or spices, but only if you want to do that). Be careful not to over-knead the dough.
-Form dough into 10 balls.
-On a floured surface, roll each ball into a 5-6 inch circle, about 1/4 inch thick. (Be sure to sprinkle a little flour on both sides to prevent sticking).
-Place on a non-stick baking sheet and allow to rise 30 minutes, or until slightly raised.
-ust before you place the pan in the oven, flip each pita over on its other side.
-Bake on the bottom rack of the oven for 5 minutes. (The instant hot heat will help them puff up).
-When the pitas come out of the oven they will be hard, but they will soften as the cool.
-Store them, while they’re still warm, in plastic baggies or an airtight container.
-Cut the pitas in half crosswise and stuff with your favorite fillings (beans and rice, taco fixings, thick stews, curries – anything goes).
-Pitas can be reheated in a 350°F oven or in the microwave.

